Preview your video
You can start the preview server of Remotion using
sh
sh
This is a shorthand for
bash
bash
where src/index.tsx is the file where registerRoot() is called.
A server will be started on port 3000 (or 3001 if it's not available, and so on) and the preview should open in the browser.
Preview controls
Use the button or Space to play your video.
Use the and buttons to jump 1 frame backwards or forwards. You can also use the left arrow or right arrow to do so. If you hold the Shift key, you jump 1 second at a time.
Toggling transparency mode
By default, the background of your video is a checkerboard pattern signifying that the pixels are transparent. You can press button to disable this behavior which will render a black background.
In / Out Markers
Use the and buttons to set an In or Out marker. When you play the video again, only the range within the markers will play.
You may also set markers using the I and O keys.
To clear a marker, make sure your playback head is at the point of a marker and press the button you pressed to activate it again. Or use the X key to clear both markers.
Change the canvas size
The default scaling mode is "Fit", which will scale the video so it fits in the preview window. Use the left dropdown to choose a different scale.
Change the playback speed
By default the video will play with 1x speed. You can speed up or slow down the video by clicking on the dropdown that says 1x.
You may also choose a negative value which will play the video in reverse. Note that <Audio/> and <Video/> tags cannot be played in reverse, this is a browser limitation.
Advanced playback controls
Use the J, K, L keys to quickly move around the timeline while your video is playing.
L will play the video forward, pressing it repeatedly will play it faster.J will play the video backwards, pressing it repeatedly will play it faster.
K will pause the video and reset the speed to 1x.
Timeline modes
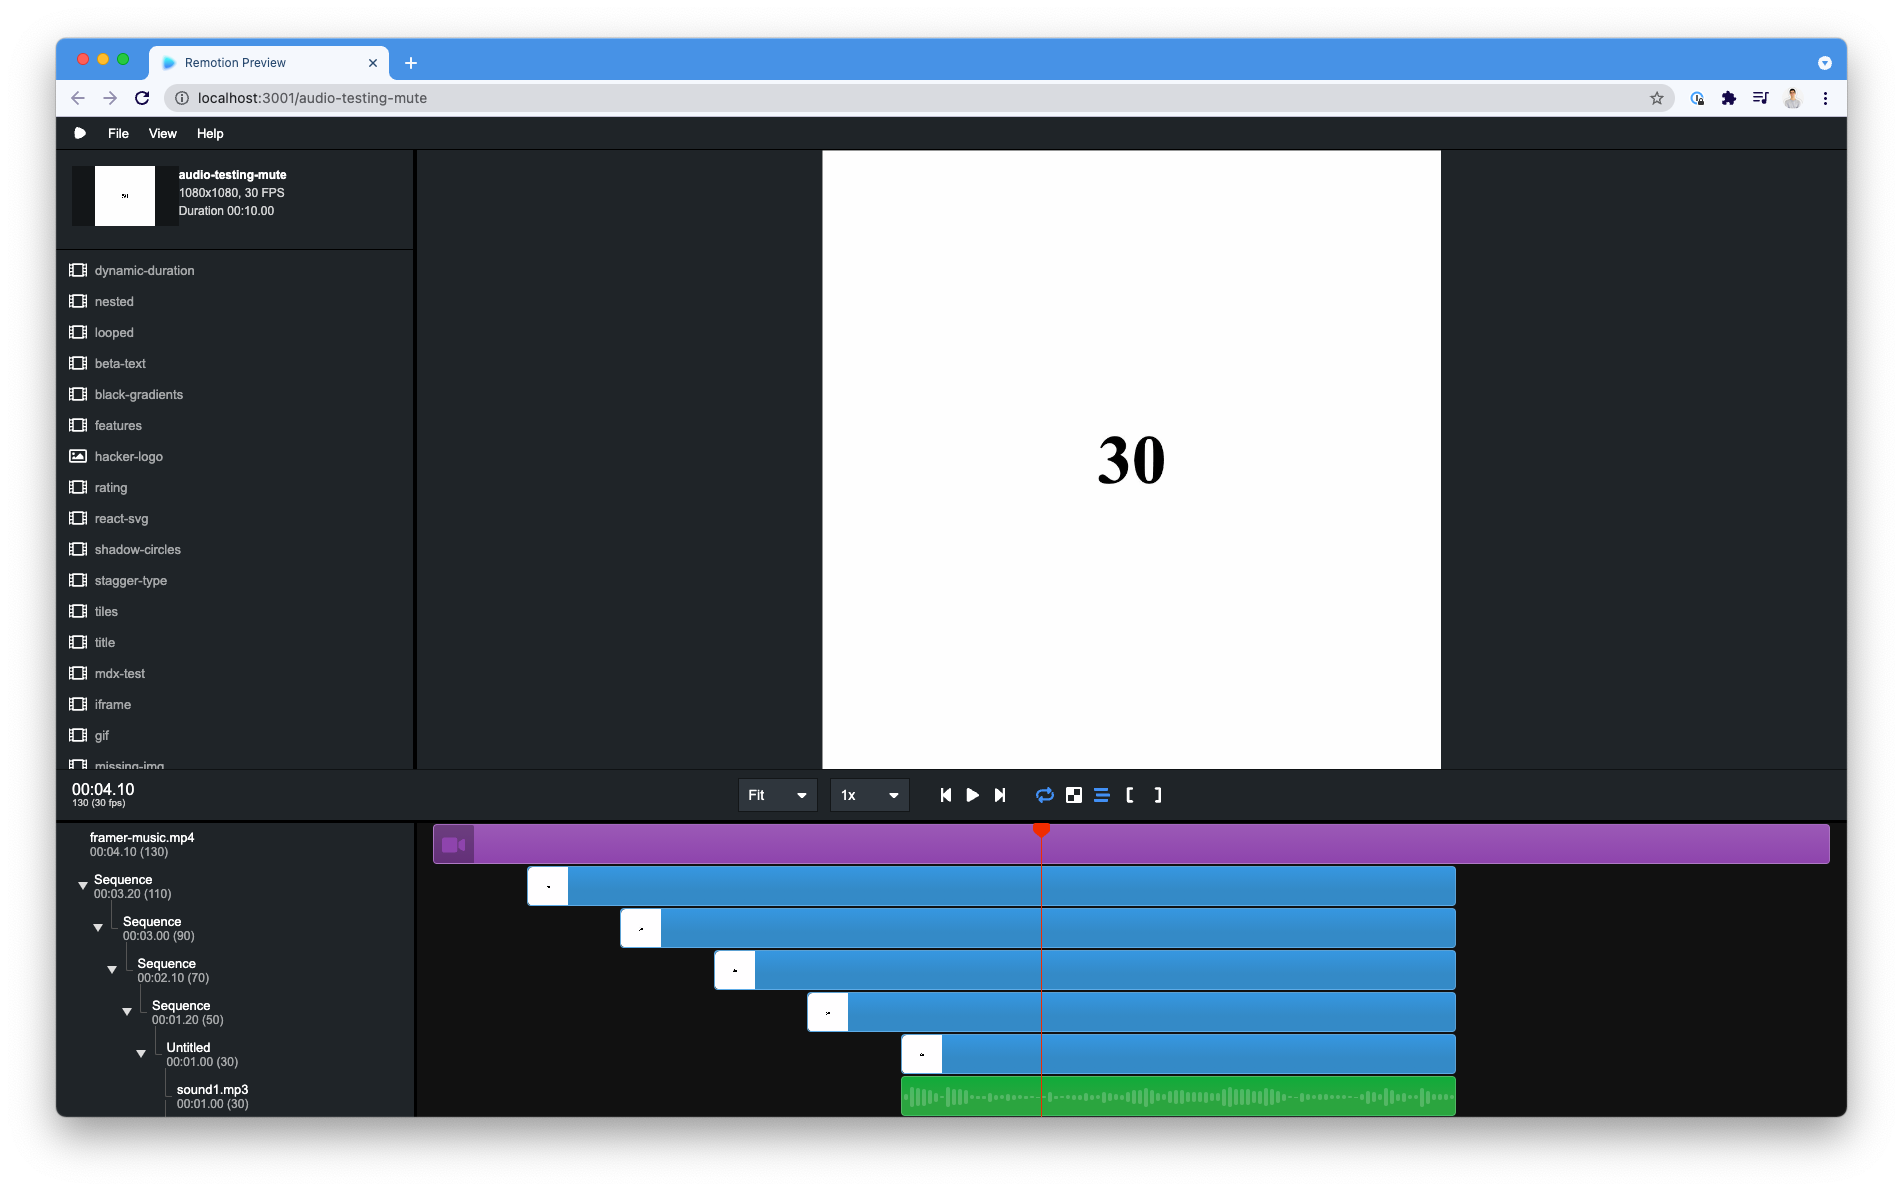
At the bottom of the Remotion preview player, you will see a timeline. Remotions timeline has two modes: Simple timeline (default) and Rich timeline (experimental, will become default in the future).
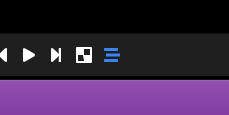
You may switch between the two modes by clicking the icon with the three lines:
Simple timeline
The simple timeline will visualize the content that is rendered by your composition at the current time. This is a simple and efficient way of visualizing your content, as it will only render what you anyway see in the top panel of the editor. However, it is limited: If you place your cursor outside the time range of a sequence, Remotion cannot gather information about that sequence because it simply is not rendered at this time. This means that while the playback head is moving, the timeline may change.
Rich timeline
The rich timeline will render additional frames to gather enough information to visualize a full timeline. Sequences which are normally not rendered because the playback head is not within the time range of the sequence, will appear because Remotion is doing an additional render at a time where the sequence is visible.
These additional renders will appear as thumbnails in the timeline. Therefore, these thumbnails are only available in rich timeline mode.
Which mode should I use?
Generally, the rich timeline mode will provide you with a more accurate timeline. Since your timeline gets rendered more than once at a time, you must ensure that your timeline is free of side effects and only relies on useCurrentFrame for animation.
More renders also mean slower rendering. If you are suffering from slow playback and timeline scrubbing performance, consider disabling the rich timeline mode.
The rich timeline will become the default in the future, but right now it is disabled by default.
We encourage you to try out the rich timeline mode and letting us know about any issues you will face.
See also
- Customize the number of timeline tracks shown using the
setMaxTimelineTracks()configuration.